Showing posts with label play. Show all posts

Monday, April 2, 2012

10 Ways to Play with Push Lights

I found these fun little push lights at The Dollar Tree, my absolute favorite place.  I'll be honest, you can probably find better quality ones somewhere else, but you'll end up spending more than $1 I'm sure.  Each of these take 4 AA batteries and The Dollar Tree sells packs of 8 batteries for $1.  Score!


I love these lights because they're simple, produce a good amount of light, and are easy for a little toddler to turn on and off.  Olive loves them for all the same reasons.  We haven't really played anything specific with them yet except for just turning them on and off.  They are equally fun in the light as well as dark.


Even though we haven't used them (yet) in all these ways, here are some different ideas on how you can use push lights (with your toddler or even an older child):

1) Learning words:  on, off, push, light, dark

2) Energetic game:  Set up about 10 in a room and turn them all on.  You run around pushing them all off and your child runs around pushing them all back on.  This game could literally go on forever.

3) Cozy reading:  Turn off all the lights and set a few of the push lights around you.  Read books together by the light of the pushlights.

4) Stop and Go:  Child is in charge of pushing light on and off.  When she pushes the light on, you move/crawl/jump/skip/etc. towards her.  When she pushes the light off, you have to stop.  When you reach her, switch places.

5) Middle of the night diaper changing light (okay, not exactly a "play" use, but helpful, right?)

6) Homemade light table:  Put a few push lights on the floor and place a clear bin upside down over the lights.  Voila!  Light table is ready to use!

7) Set a few on the floor and play with scarves and/or light fabrics over top to see the light diffused through the fabric.

8) Make a campfire:  Tape some orange construction paper to the outside edge of the light and cut into "flame" shapes.  Use as a "campfire" for dolls and play animals.

9) Practice gross motor/ hand-eye coordination skills:  Set up a few lights on the ground.  Have your child toss bean bags (heavy enough to turn on the light) and try to get the bean bags to land on the light and turn it on.

10) Feelings buttons:  If your child isn't talking yet and has trouble expressing her emotions... Take a few lights and draw a face (or tape a picture) to each one that reflects a different emotion - happy, sad, angry, tired, hungry, etc.  When your child is upset, you can show them to push the light that shows how they are feeling.  If they start to feel different, they can push the light off and push another light on that shows how they are feeling now.


Do any of you have push lights in your home?  What are some of the ways that you use them for play?

Wednesday, December 7, 2011

Animal Diorama

I found these cute little plastic animals at The Dollar Store recently.  I've been wanting to get Olive some play animals like this and at $1 a piece, these sturdy, realistic animals were just the ticket!

Aren't they cute?  You may find the giraffe familiar - it was same one I used for the animal bookends I made in my last post.  I bought two of them.

The only problem is that they looked a little lonely.  I thought that they could use a habitat to live in, but being short on funds I needed to make one using things around the house.  Here's what I came up with:

I used a diaper box and cut off the top and one of the sides.  You can't see it, but I covered the outside with construction paper.  This isn't necessary, but Olive is obsessed with pointing at the baby pictures on the box and I didn't want that to overtake this activity.  For the floor, I used a piece of green felt and made little hills by stuffing some batting underneath.  The sky and clouds are painted with tempera paint.  I made 2 moveable trees out of toilet paper rolls and felt pieces.  I also made a little cave/hollowed out log out of 2 toilet paper rolls cut and glued together.  The whole thing took about 20 minutes to make and I had everything already on hand.

Yes, I know that it looks like a 4th grader made it for a school project, but my daughter loves it.  If she were older, I may have spent more time on it and made it "better looking".  Or maybe not, I don't know.  All I know is that it engages my daughter and it was $6 (the cost of the animals) well spent.  I have plans to make other habitats for the animals using more diaper boxes.  I'm hoping that we won't have too many diaper boxes before too long because we're trying to potty train my daughter.  So I better start holding on to them!

Sunday, October 23, 2011

Chalk - It's a Messy Business!

Never underestimate the power of a piece of chalk.  Setup is easy and the only extra material you need is a slab of concrete.  Olive loves chalk.  Well, she loves watching it get all over her clothes at least.  We're still trying to get her to stop putting it in her mouth, but for the most part, she keeps in on the concrete!  Thought I'd share our last chalk time.  (Keep in mind, most of the drawings are mine but Olive has a few scribbles here and there!)
Everything you need: chalk and concrete!
"Ti tat! Ti tat!"  I drew a kitty cat, which she loves. :) 
My little artist's drawings.  She's so advanced, right? :)
Adding some final touches.
Getting down & dirty.
Chalk - It's a messy business!

Friday, September 30, 2011

Pipe Cleaner Fun!

 Olive was being particularly naughty the other day.  She had a lot of energy and was not dealing with it very well!  I came up with this activity and she loved it!  Along with ripping paper and playing with blankets, it's one of the few activities that she can get really engrossed in.
I had a bunch of pipe cleaners that I brought out from our art supplies.    Then I went in the kitchen and grabbed the vegetable wok (the kind that you use on a barbecue).  It has lots of holes in it.  You could also use a colander.  Anything with small holes, really...

Olive had such a good time putting the pipe cleaners in the holes and taking them out, over and over again.    I tried to show her how to weave it in one hole and out the other, but she was just interested in doing her own thing!

She played with this for about 15 minutes, just enough time for me to sit next to her and veg out.   I needed a break and this activity did the trick!

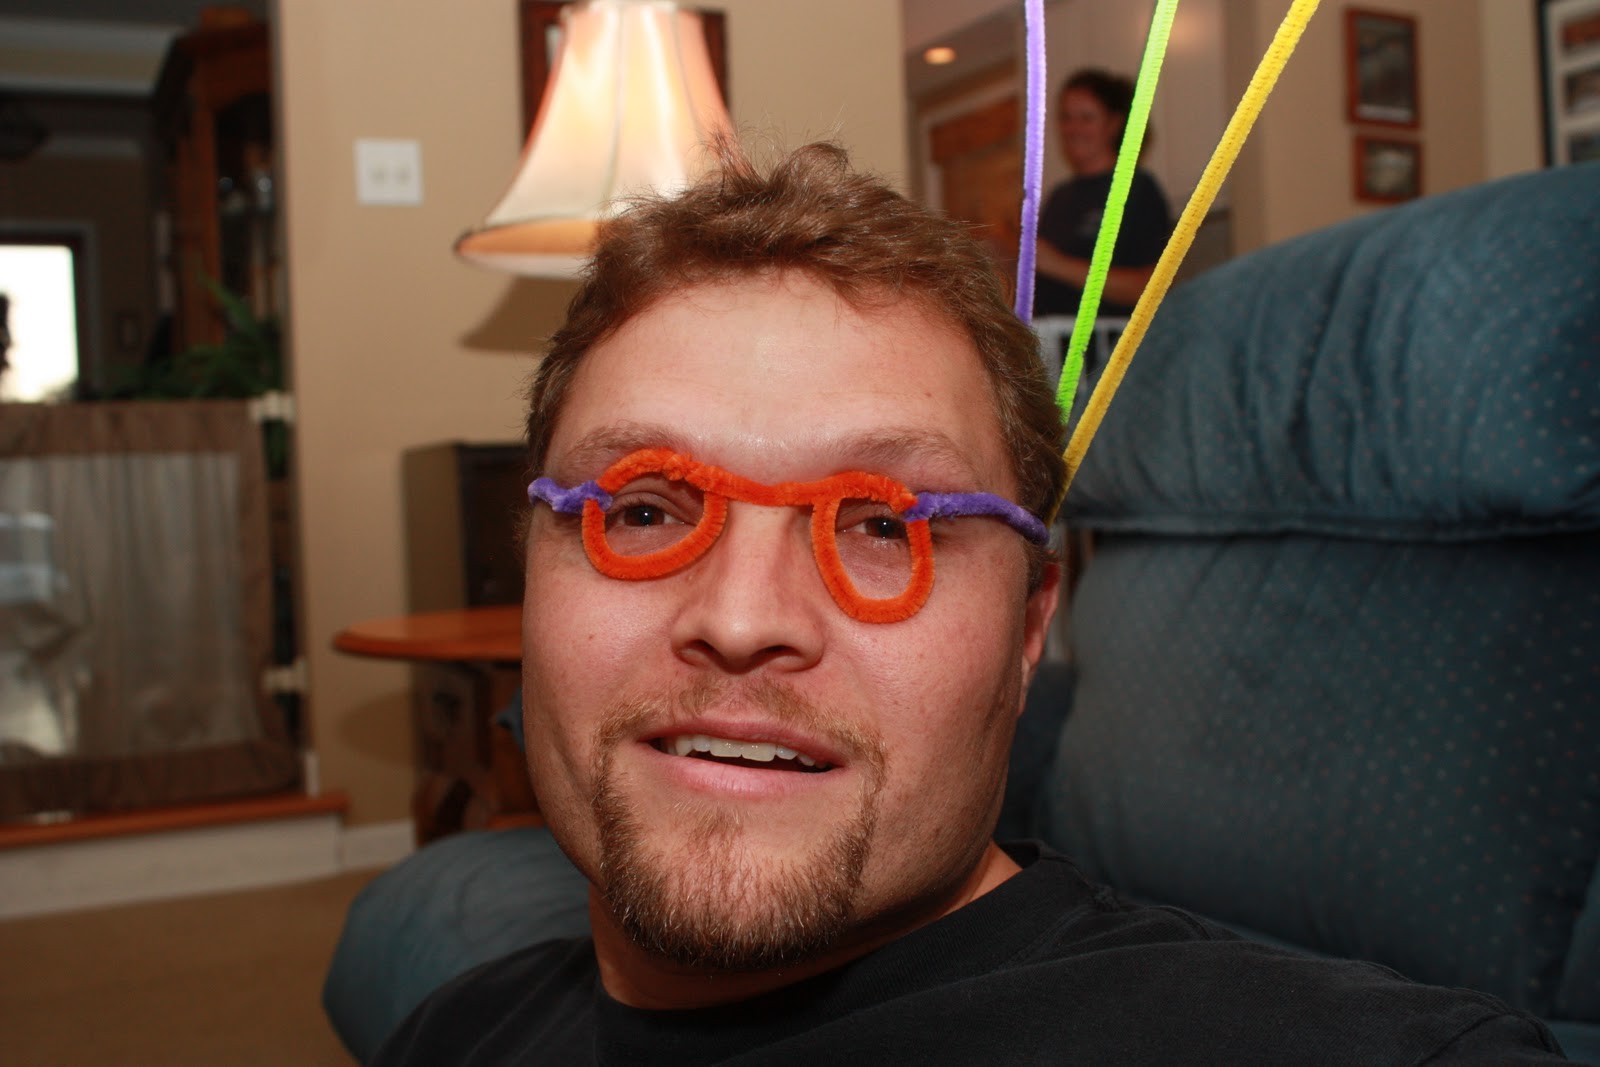
Dada got up while she was playing and got in the act, too.   :)

**Safety Note:  Don't leave small kids alone with the pipe cleaners.  Yes, they are soft but they have pointy edges that could potentially hurt.  Plus, if you have a toddler that still puts everything in their mouth (like mine), you'll want to watch to make sure they don't eat the fuzz!**