Tuesday, November 29, 2011

Passing on Memories

I haven't saved too many things from when I was a child.  A few art pictures here and there, a few items of clothing, not too much.  But of all the things I still have from my childhood, there are two that I cherish the most - my old dolls Mimi and Gigi.  Truthfully, I can't take any credit for still having these dolls.  My mom has held on to them for me, sitting on a shelf in her bedroom since I stopped playing with them years ago.  And on that shelf in my mom's bedroom is precisely where Olive was stopping on a daily basis to take Mimi and Gigi from the shelf, wanting to play with them.  As you can see, they were still alive but have seen better days.


Gigi is on the left, Mimi on the right.  Now, my daughter, while very sweet, is not the most delicate.  I knew that if I let her play with the dolls, they would be destroyed in no time.  Both of them had holes in their body, hair falling out, clothing ripped, and were obviously a little dirty.  I really wanted her to be able to play with them but I wanted them to hold up, so I decided to give Mimi and Gigi a little makeover!  Here's how they turned out:


Gigi got a whole new face - literally.  New skin, eyes, nose, and mouth.  I also changed her hair, gave her a little head kerchief and front dress panel to match, reinforced her arms and legs, cleaned her dress and sewed up little holes here and there.  Mimi got a good cleaning as well as new hair, a re-stuffed hat and all her holes were sewn up tight.  I'm so happy with the way that they turned out!


Olive likes them better, too.  Except she keeps trying to pick off Gigi's nose.  :)  The best part is that I know that they are now better able to withstand her torture she sometimes inflicts on them.  It can go from hugs to "toss across the room" in an instant.  I love that she is able to enjoy a toy that I loved for so many years and I'm sure she will enjoy them for years to come, too.  (I have a picture of me holding them when I was about her age.  I think it's boxed up somewhere but if I find it, I'll put it up, too!)


Friday, November 18, 2011

Pinterest Friday

I didn't spend a whole lot of time on Pinterest this week (shocker!), but what I did find was well worth it!  The best thing I pinned this week originated from an awesome preschool blog run by Teacher Tom.  His preschool class looks amazing!  Here's the idea from his class that I pinned:

Mixing Station
Basically, it's a table with a variety of containers filled with materials such as: corn starch, baking soda, flour, dirt, water, shaving cream, salt, vinegar, sand, etc.  Scooping utensils are provided and then the kids are set free to mix and pour to their hearts content.  In a preschool setting, this would allow kids to discover, on their own, what happens when certain things get mixed together - science at it's purest!  For my 17 month old, who is too little to understand those concepts, it's an excellent sensory activity with opportunities to practice scooping, pouring, balancing and all those fine motor skills.  Here's how it turned out for us!
The set up, or invitation: Tub with containers of flour, oats, water, rice, salt, baking soda, sprinkles,  and squeeze bottle of oil (mixed with a little blue food coloring for funsies).  I also set out a few empty containers and trays as well as put scoopers in each of the containers.

First exploring the materials.  Of course, she went for the sprinkles first.  I had to take them away eventually because it's all she wanted to do.  Otherwise, I basically just let her explore and find out on her own how she wanted to utilize the materials.  I did show her how to pick up a scooper and use it to get a material and then she took it from there.

Pouring some oatmeal into a coffee can.

She did a lot of pouring from one scooper to another scooper.  Great for working on those fine motor skills!

Practicing her balance and coordination skills as she attempts to move water from one bucket to another using a little scooper.  Again, I didn't tell her how to do this.  She explored and decided on her own.

Finding out what happens when water mixes with baking soda.

Squeezing out some oil.  I probably won't use this one next time.  I anticipated and was looking forward to a mess, but this just got all over and made things slippery and gross.

Eventually, she started to use her fingers to pick things up.  I was surprised by this because I thought she'd stick her fingers in the stuff right away, but it took her about 20 minutes.  All in all, she didn't really create a big mess.  I think as she gets a little older and really starts mixing things up, the mess will get more fun!  But, she had a lot of fun with this activity and I really enjoyed watching her little mind work.


Here are the rest of the awesome things I pinned this week that I have yet to do....but I'm working on it! :)
Contact Paper Play:
Tape contact paper sticky side up to a wall.  Provide things to stick on the contact paper.   Voila!
Sensory Discovery Bottles
Kid's wallet for busy play -
 Fill with pictures, business cards, pretend credit cards, etc. and have your kids use it to keep them busy at a restaurant or any time you're waiting!


The holidays are fast approaching so I probably won't have as much time to lollygag on Pinterest.  You know, family time and all! :)
Have a pinteresting weekend and keep pinning!


Thursday, November 17, 2011

Naturally Scented and Dyed Playdough

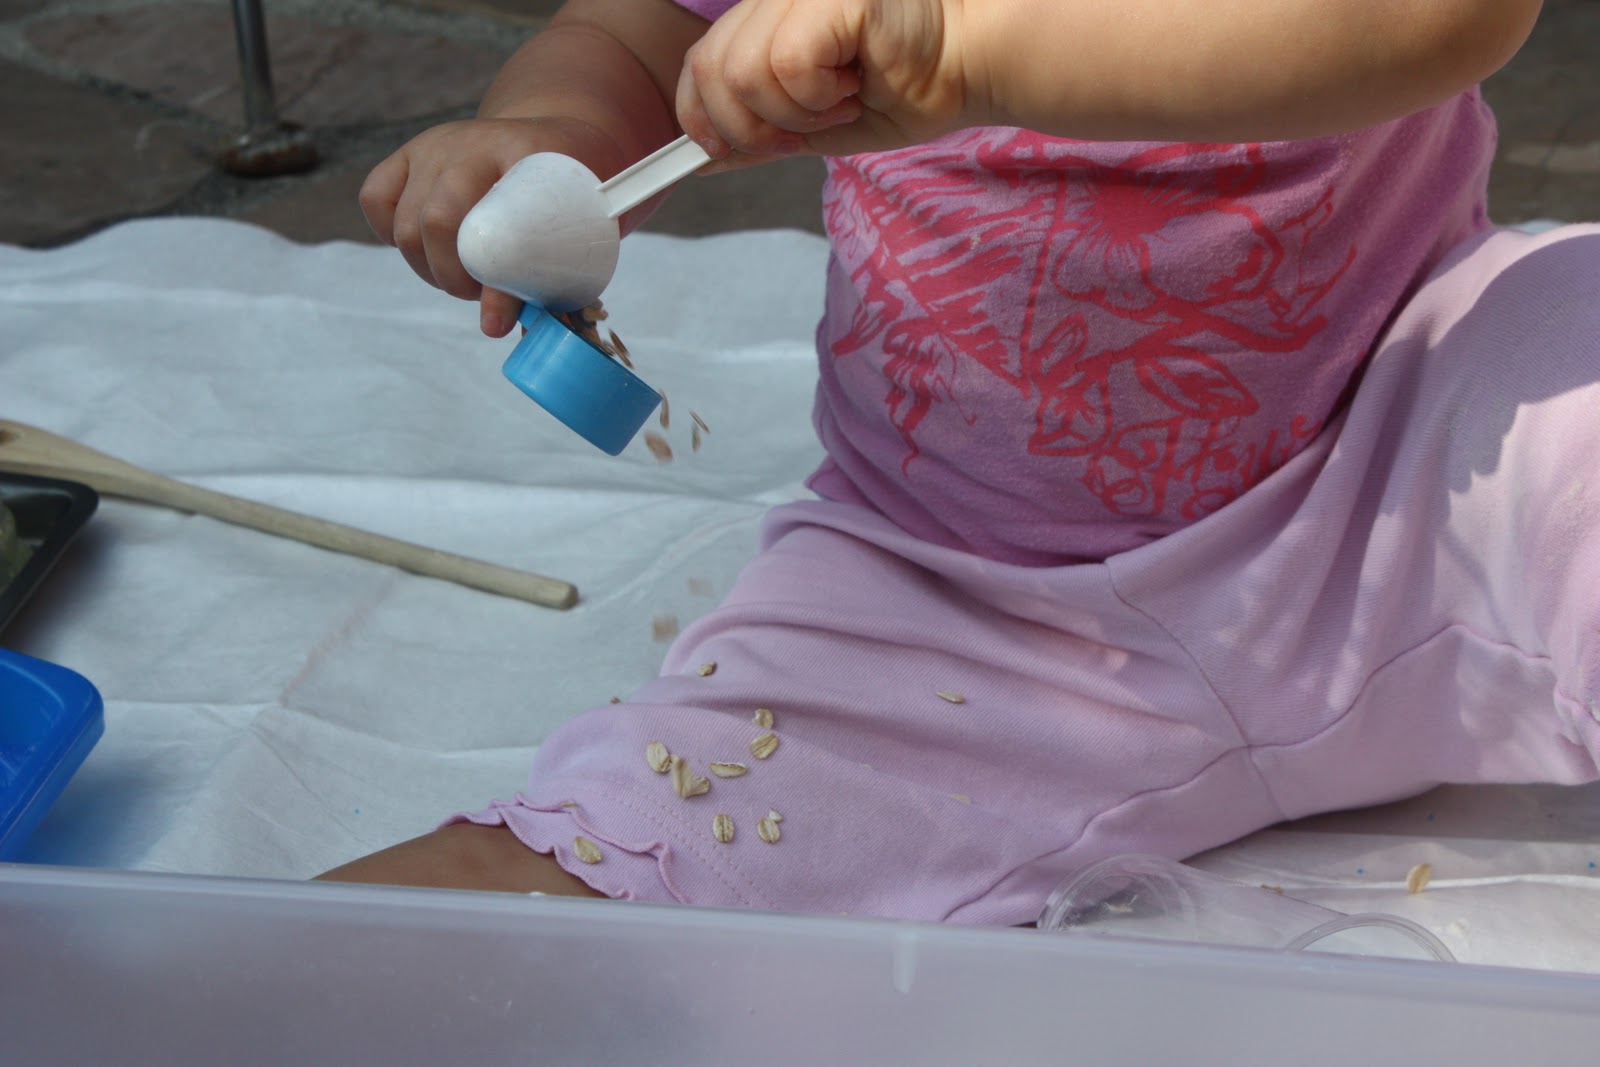
Playdough is great.  It's an activity ready to go - no other materials neccessary (unless you want to add in some fun tools).  It's also a great sensory experience for little ones and helps to build the finger muscles of a growing toddler.   Instead of buying playdough from the store (which always seems to dry out so quickly), I make my own at home which ends up being way cheaper.  I bought the supplies in bulk at my local WinCo store - $0.85 for 6 pounds of salt, $2.75 for 7 pounds of flour!  I was able to get enough materials to make this recipe about 20 times for under $15 dollars, not including the homemade food dyes.  Plus, making it on my own means I know what is in it.
Okay, so first things first, here's the recipe.  It's a pretty common playdough recipe but the mom at I Sew, Do You? took some great pictures and makes it really easy to follow.

Awesome Recipe:
1 cup flour
1/2 cup salt
2 tsp cream of tartar
1 tbsp vegetable oil
1 cup water
food coloring

Mix everything in a pot over low heat until it starts to pull away from the pot into a ball.  Put the cooked dough on wax paper and knead a little to smooth it out.  Now you're ready to go!

On my last few batches of playdough, I decided to add some scents and go for natural food coloring.  I was making it for a playdate with some other moms and I thought I'd spruce it up a bit!  I don't have anything majorly against food coloring because it's not like I give Olive a bunch of sprinkles and colored candy to eat every day.  But I thought I'd try making some natural food dyes for fun!  The moms at Play at Home Mom gave me the inspiration to create my own dyes and I took it from there!

How to make your own food based dyes:
1) Add 1 cup water to a small pot.  
2) Add in 1 cup fruit/veggie or a few tablespoons of a colorful spice.  
3) Bring to a boil and then let simmer and reduce for about 15 minutes.
4) Strain dye into a bowl.  (I used a mess strainer and put a paper towel on top.  You could use pantyhose or cheesecloth, too.)
5) Store your dye in small containers or plastic baggies!

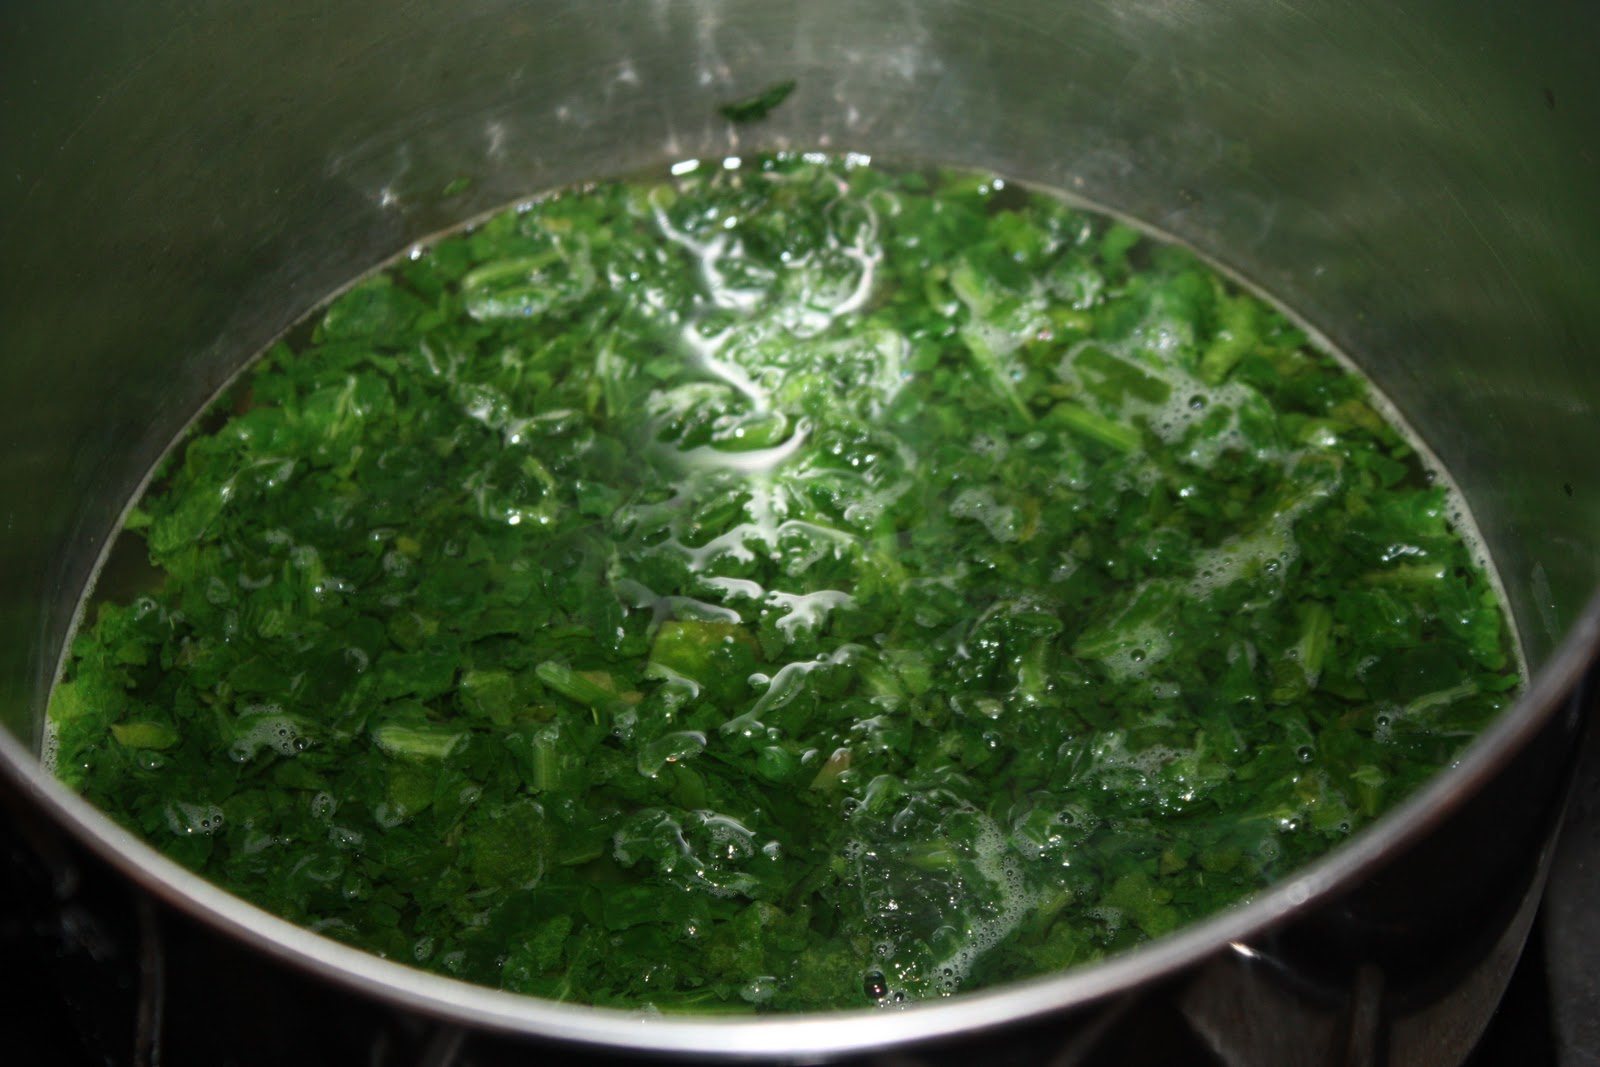
Here are my "solutions" cooking:

Turmeric

Safflower and Paprika

Spinach

Blueberries

Strawberries

Cinnamon

Here are the dyes after they were strained and bagged.  As you can see, some of the solutions reduced more than others:


****************
Lastly, I've been experimenting with scented playdough.  I've research a lot of different methods online and come up with a few on my own.  To get scents into the dough you can add a variety of things such as:  extracts, koolaid, spices, tea leaf, etc.   Whatever you choose, just add it to the mixture while you're cooking it along with everything else.   Here is the playdough I made for my playdough playmate this week using my natural dyes and scents!

Top row, left to right:
1) Scent - 3 tbsp chocolate powder, Dye - none, the chocolate acts as a dye
2) Scent - 1 tbsp vanilla extract, Dye - none
3) Scent - licorice using ground fennel seeds, Dye - blueberry
4) Scent - 2 tbsp cinnamon, Dye - cinnamon

Bottom row, left to right:
1) Scent - contents of 2 orange spice tea bags, Dye - Safflower/Paprika
2) Scent - 2 tbsp apple pie spice, Dye - strawberry (the spice added color, too)
3) Scent - contents of 2 peppermint tea bags, Dye - strawberry
4) Scent - 2 tbsp pumpkin pie spice, Dye - turmeric (spice adds color, too)

Have fun experimenting with your own scents and dyes and please leave a comment if you come up with any awesome ones!  I'd love to hear about it! :)


Wednesday, November 16, 2011

Quick Dinner Idea!

I made one of my favorite, easy, standby dinners tonight.  It's called...Meat-Bean-Macaroni Mix?  Okay, I don't have a very good name for it, but it's delicious!  I got the recipe from a magazine (I think Cooking Light) a few years ago.  I love it because I usually have everything I need to make it already in the kitchen, which means no last minute runs to the grocery store.  There's a sense of pride I get when I can make a meal using what we have in the house, without spending any extra money.  So, without further adieu, here is my Meat-Bean-Macaroni Mix! (If you think of a better name, by all means, let me know!):


Ingredients:
16 oz package elbow macaroni
2 tbsp olive oil
1 cup onion, finely chopped
2 garlic cloves, minced
1 pound Italian sausage (or ground turkey, ground chicken, whatever's your pleasure - I used ground chicken in tonight's dish because that's what we had.  If you don't use Italian sausage, I'd probably add a little Italian seasoning for flavor.)
2  15 oz cans of diced tomatoes, undrained
2  15 oz cans cannellini beans, drained and rinsed
1 tsp fennel seeds
1/2 cup dry white wine
1/2 cup low sodium chicken broth
salt and pepper to taste
shaved/shredded cheese (Romano & Parmesan are good choices)

Directions:

  1. Cook pasta to al dente (almost soft with just a little bite).  Set aside when done.  Meanwhile...
  2. Heat olive oil in large pot.  Add onion and garlic and saute until soft.
  3. Add meat and cook until is starts to brown.
  4. Add wine to break up any browned bits on the bottom of the pan.  Add tomatoes, beans, fennel, chicken broth, salt and pepper to taste.
  5. Bring mixture to a boil.  Turn down heat and let simmer for 15 minutes.  (I usually let mine simmer for a little longer to soak up all the flavors.)
  6. Add cooked macaroni.  Add a little at a time - see how much you want.  I usually have about 1 1/2 cups leftover that I'll use in something else the next day.
  7. Serve with a little cheese on top.
I hope you all enjoy this dish as much as my family and I do.  It's quick, simple, and relatively healthy, and as a busy mom, I couldn't ask for anything more! :)


Sunday, November 13, 2011

Week of Toddler Meals (17 months old)

My daughter has been eating real food and full meals for a while now (she's currently 17 months old).  But when she turned 12 months and we started transitioning off of formula, it was overwhelming.  Formula use to be her 100% nutrition.  Now I had to make sure:  Is she getting everything she needs?  I bought books, I researched, and finally, I calmed down.  I realized, as long as she eats healthy foods, most of the time, most of the week, she'll be fine.  But it took me a few months to get to that point.  I always wish that I had had a mom just say, "Here are some meal ideas to get you started."  So, with that in mind, I thought that I'd record everything Olive ate for a full week: breakfast, lunch, dinner, and some snacks.

A few notes:
  1. Olive still gets whole milk twice a day: 12 oz when she wakes up and 8 oz before she goes to bed.  (I just didn't take pictures of it!)  She also gets water throughout the day when she wants it.
  2. This actually took me about 10 days to complete because:  Some days were leftovers of the day before - not that interesting - and some days we were out and about and I didn't have my camera.
  3. These are the meals I made for my daughter, not necessarily the meals she ate.  Truthfully, she has a good appetite and usually eats what I give her, but she's a toddler so she likes to be difficult sometimes! 
  4. Sometimes she eats what we eat and sometimes I make her a different meal.
  5. Yes, we eat a lot of bananas, flax meal, and sweet potatoes.  Hey, they're easy to make and healthy!  Also, you caught me on a week that I had a lot of grapes and pears.  On another week, you might see a lot of cantaloupe and peas or apple and green beans.  It just depends on what we bought that week! :)
Breakfasts

Bananas and Homemade Waffles (the waffles are made with flax meal, blackberries, and peaches)

Applesauce with Flax Meal & Potato Pancakes (made by Grandpa)
Bananas, toast sticks, scrambled egg

Egg, Cheese & Hash brown Burrito 
Greek Yogurt with Banana, Flax Meal, & Applesauce mixed in

Oatmeal with Banana, Flax Meal, Blueberries, and Applesauce

Diced Pears with Whole Wheat Pancake Sticks

Lunches

Peanut Butter Pita Triangles, String Cheese, Grapes

Greek Yogurt with Bananas and Garbanzo Beans 
Slurry (our name for smoothies in our house).  This one has:  spinach, carrots, sweet potato, kidney beans, cantaloupe, bananas, almond milk, flax meal, blueberries, mango, green beans, strawberries, applesauce, peas, and blackberries.  If you want to see me making a similar one, click here.

String Cheese, Diced Pears, Toast Sticks

Scrambled Eggs with Shredded Cheese & Peas

Almond Butter and Banana Sandwich with Organic Cheddar Cheese 

Kidney Beans and Dried Mixed Fruit

                                                Dinners

Pearl Couscous Mixed with Garbanzo Beans, Peas, Corn, Tomatoes & Spices

Sweet Potato and Turkey/Chicken Burger Patty

Sweet Potato, Cheese Quesadilla, Grapes

Turkey/Chicken Meatloaf, Sweet Potato, Roasted Cauliflower & Carrots

Grilled Polenta, Sauteed Spinach, Baked Pork

Taco Bake:  Ground Chicken/Turkey, Pinto Beans, Tomatoes, Crushed Tortilla Chips

Burrito:  Chicken/Turkey Mix, Cheese, Tomatoes, Flour Tortilla
Snacks (these aren't all the snacks she ate - just the ones I photographed)

Baba Ganoush & Pita (shared with Grandma) 
Grapes and Peanut Butter & Jelly sandwich (shared with Mama)

Hummus & Pita
For all the parents about to transition into full-fledged meals with their little ones, I hope this can help!  For all the parents with toddlers that are already transitioned, I hope this helps give you some fresh ideas.  And to all parents who choose to offer their little ones healthy choices, even if they don't always eat them...high five to you! :)