Monday, February 27, 2012

Sensory Play: Hot & Cold

This is a great activity for many reasons:  learn vocabulary "hot" and "cold", discover the difference between the two, and have a temperature sensory experience.  To be honest, the hot part of this activity isn't really hot, but more like quite warm, for obvious reasons.  Vocabulary ideas:  hot, warm, cozy, cold, cool, freezing, icy.

Things you need:  hot items and cold items.  I used gel-filled ice packs (they stay squishy when frozen) and rice-filled heat bags.  Use the ice packs straight from the freezer and warm the heat bags in the microwave.  Be careful not to get the heat bags too hot!


What to do:  Place your hot and cold items on the floor and let your little one explore.  It's as simple as that!  I've done this activity before with Olive, but the first time we did it, I just let her feel around for about 5 minutes.  After she had done some sensory exploring, I started talking with her.  "Oh, this is cold!  Is that one warm?  Ooohh, that feels nice and cozy!  Should we put the cold one on our feet?  Oh boy, it's freezing!" and so on.

Like with any sensory activity, try not to push them.  It's really all about exploring.  If they seem like they need help, you can guide them, but try to leave them to discover things on their own.  Even from the first time we did this, Olive chose - on her own - to step on the items and lay on them.

Feeling the cold

Feeling the hot/warm

Laying on the hot/warm

Laying on the cold

Everything still goes in the mouth!  Ay yai yai!


Thursday, February 23, 2012

Blueberry Beet Muffins

Beets are amazing.  They are excellent for your heart, contain a ton of folate (great for pregnant women), vitamin C, vitamin A, potassium, and many other important vitamins and minerals.  If you don't like beets, it doesn't matter because you won't even be able to taste them in this recipe - I promise!  I made these for a breakfast playdate in my mom's group the other day.  I wanted something mostly healthy that would please both kids and adults so I searched for a beet muffin recipe but found mostly beet cupcake recipes.  I ended up finding a recipe and then adapting it to what I wanted.  Hope you like it!  Sorry about the blurriness of the picture!


As you can see, the muffins turned out this weird green color.  My second batch ended up cooking a little longer and those turned red on top, but when you crack them open, they are green inside!  I have no idea how this happened - red beets, blue blueberries, green muffins?  Well, that's color mixing science for you!  Regardless of the color, these muffins are delicious.  They are moist, just sweet enough, and have no hint of beet flavor.  I'm thinking about adding in some oats and flax meal next time to kick it up a health notch.  I can't wait to make another big batch of these!

Yields:  14 - 16 muffins

Ingredients:
1 cup red beet puree (about 2-3 medium sized beets) - *see roasting instructions below
1 1/4 cup whole wheat flour
1 cup all-purpose flour
2 tsp baking powder
1 tsp baking soda
1/2 tsp salt
1/2 tsp cinnamon
1/8 tsp nutmeg
2 eggs
1/3 cup plain yogurt
1/3 cup plain almond milk
1/2 cup brown sugar
1/4 cup butter, melted & cooled
2 tbsp vegetable oil
1 tsp vanilla extract
1 to 1 1/2 cup fresh or frozen blueberries

*How to roast the beets:  Remove the stems, leaving about 1 inch on.  Lightly scrub the beets to remove any dirt/particles.  Place beets on a sheet of tinfoil, fold over and pinch the edges together to create a little pouch.  Place pouch on a baking sheet at roast at 375F for 45 min to 1 hour or until beets are soft (can easily pierce a fork through them).  Let beets cool until you can handle them.  Wearing gloves, remove the skin (you should be able to easily rub/slide it off).  Cut into chunks and puree in a food processor until nice and smooth.  Set aside until you are ready to use it.  You can freeze any extra for later use.

Directions:
1.  In a large bowl, combine the flour, baking powder, baking soda, salt, cinnamon, and nutmeg.  In another bowl, combine the beet puree, eggs, yogurt, milk, sugar, butter, vegetable oil, and vanilla.
2.  Add the beet mixture to the flour mixture and stir to combine, but don't over mix.  You will still have a few lumps.  Gently mix in the blueberries.
3.  Line a cupcake pan with paper liners or parchment paper.  Fill cups 2/3 full.  Bake at 375F for 18-20 minutes or until a toothpick comes out clean.

**Special Note:  Beets will stain, so be careful when you're cooking!  Also, what goes in must come out, so if your toddler is eating beets don't be surprised if you get a red tinted poop or reddish pee in their diaper!**


Olive had some leftover beet puree mixed with yogurt and bananas for breakfast the next morning.  :)


Tuesday, February 21, 2012

"However You Like 'Em" Broccoli Bites

I've made broccoli bites before.  The basic recipe is simple:  chopped broccoli, bread crumbs, egg, cheese.  I thought I would make them today, but switch it up a little bit.  My daughter, who has always been a good eater, is starting to get picky.  It's like she's a toddler or something!?!  Some days, I have to give her choice after choice until she will finally eat something, and it usually ends up being fruit.  She could eat fruit all day long, but veggies have started to not be her thing.  So I made these today with the HOPE that she would at least taste them.  Not only did she taste them, she ate 3 whole ones for her lunch.  A-maz-ing.  I didn't measure anything, so I'm just going to give you estimates, but feel free to change them to your liking.  In fact, this recipe is so simple, you can really change it up to however you like it.  Here are some ideas for variations:

Vegetable:  broccoli, zucchini, cauliflower, carrots, sweet potato, eggplant, spinach
Cheese:  mozzarella, cheddar, Parmesan, vegan cheese, jack
Flavorings:  cilantro & lime; Italian seasoning; soy sauce & ginger; cumin, chili powder & oregano


Here's the recipe I made:

Ingredients:
2 cups steamed broccoli
1 cup steamed cauliflower
1 15oz can red kidney beans, drained and rinsed
1 cup panko bread crumbs
1 egg, lightly beaten
1 cup shredded mozzarella cheese
Flavorings: see below

Directions:
1.  Steam broccoli and cauliflower.  Finely chop in a food processor.
2.  Add beans to food processor to mix with veggies.
3.  Pour veggie/bean mix into large bowl.  Add panko, egg & cheese.
4.  Season as desired:  I divided my mixture into 2 bowls and seasoned with 2 different flavorings.  In one bowl, I added 1tbsp granulated garlic and 1 1/2 tsp onion powder.  In the other bowl, I added 1 tsp turmeric, 1 tbsp curry powder & 1/4 cup orange juice (I added a little more bread crumbs to this one, too).
5.  Form veggie mix into golf ball size balls and place on baking sheet lined with parchment paper.  (I've thought about doing this in muffin tins, too, and I think that would probably work!)
6.  Bake at 375F for about 25, turning over half way through.

After the bites have cooled, you can freeze them for another day.  Pop them out and warm in the microwave as you need them.

Okay, so here's the honest truth:  I didn't really care for these.  However, and that's a BIG however, my daughter devoured them, and that's all I care about.  I will try them again, with some different seasonings and hopefully they will turn out to be more pleasing to my palate.  I'm not discouraging you from making them, but I am saying to try out a variation that you'll like!  The basics are:  veggies, egg, bread crumbs & cheese.  So basic, with so many variations to try!  If you get a mix that you really love, please let me know! :)

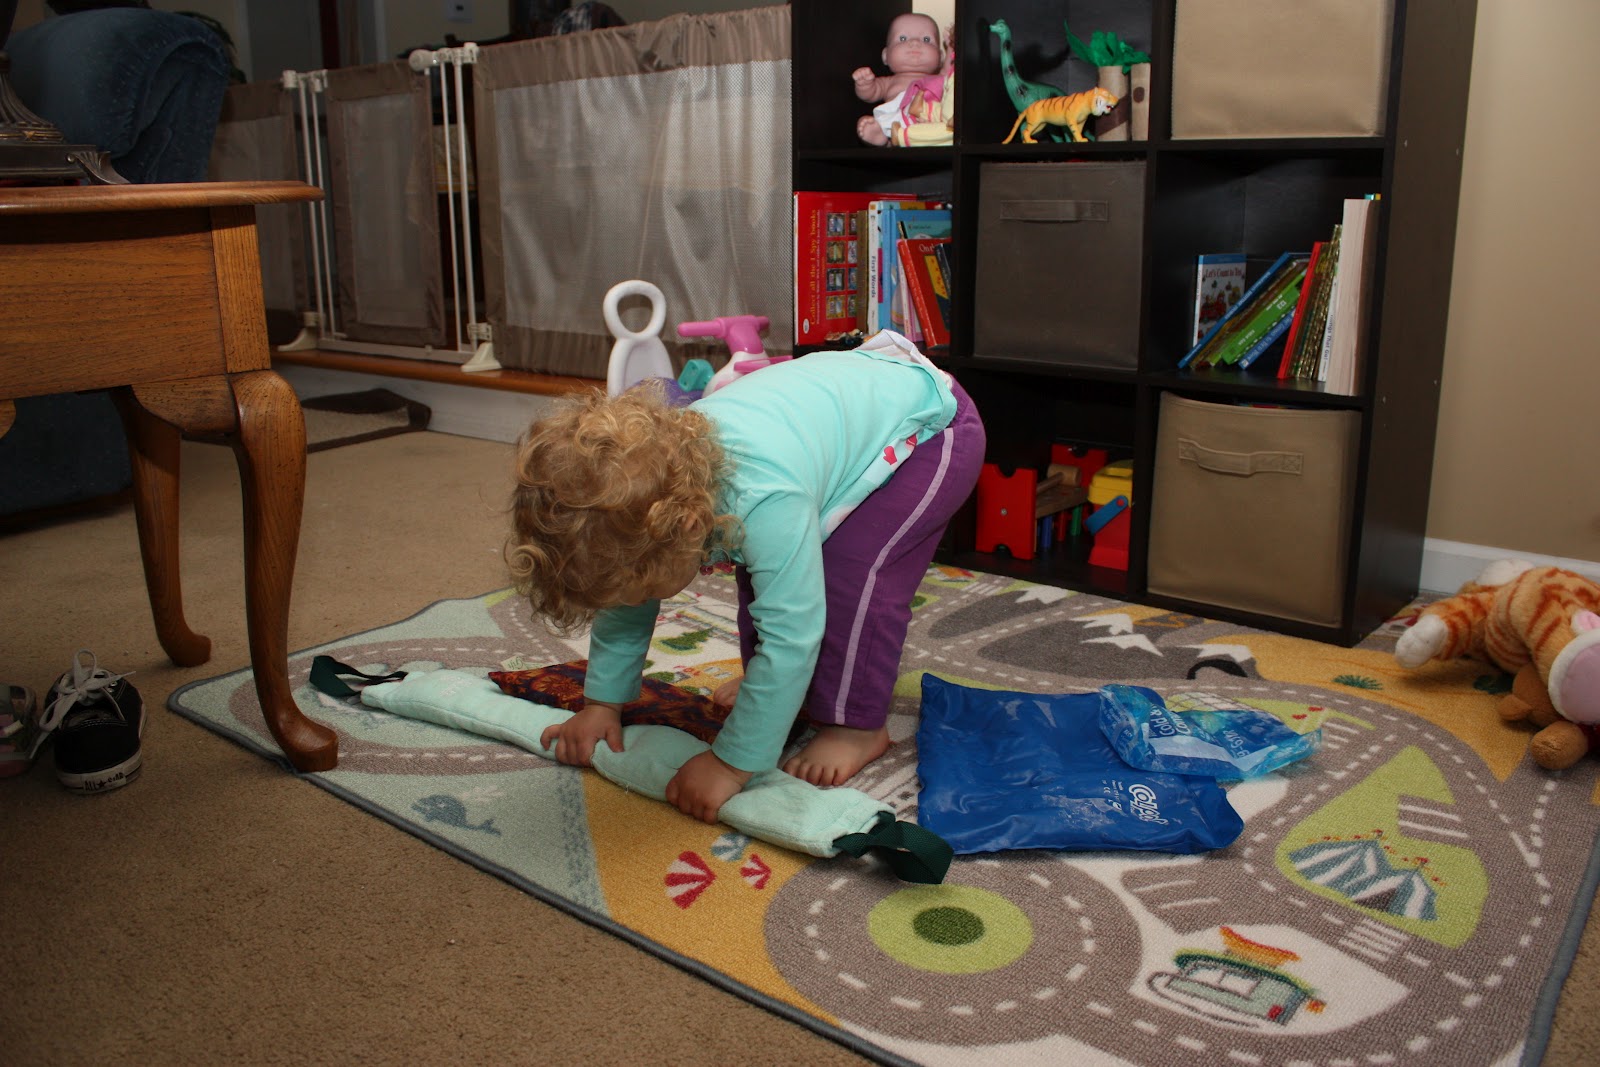
 Proof that these broccoli bites are toddler-approved!  :)

Sunday, February 12, 2012

Being a "Yes" Parent

It's been awhile since I posted because I've been having slow Internet issues, but I also haven't been inspired to post anything.  And I figured, hmmmm, where better to go for inspiration than to my favorite blog, Play at Home Mom!  If you're a parent and love your child, you are missing out if you don't visit this awesome blog.  While I was reading through some of their latest posts, I thought to myself, "Wow, these moms are really the epitome of "Yes" parents.  They even post pictures with captions along the line of "Yes, you can.....".  I love it, but what do I mean by being a Yes parent, you say?

To me, being a Yes parent DOESN'T mean allowing your child to do whatever they want.  Of course, I wouldn't allow my daughter to stick her hand in a fire, or think that it's okay to hit her dad, or do anything else that is going to cause her or someone else emotional or physical harm.
To me, being a Yes parent DOES mean giving my child an environment to live in that allows me to limit my use of the word "no".  On the simple level, it means making the environment safe - outlet covers, gates in front of the fireplace, non-toxic plants in the garden.  On a play level, it means providing materials that Olive can manipulate as she pleases, without me telling her, "No Olive, don't do that" or "No Olive, don't push that down".  If I provide her with the proper materials, I will give myself the opportunity to say, "Yes Olive, you can push it that way" or "Yes Olive, that can go there".

To be honest, I can't always be a Yes parent as much as I would like to.  But, I try my hardest to create situations and an environment for Olive that will allow me to say yes as much as possible.  I thought that I'd look through some of my pictures to find examples of myself being a Yes parent.  I think I found some good ones.  And although I've been lacking in inspiration lately, I hope you find some inspiration through these pictures and that it leads you to put a little more Yes into your life.

Yes Olive, you stick you hand into the pumpkin....or just stare at it for a minute, make a gagging sound, and decide you don't want to touch it.  

Yes Olive, you can squeeze the berries on that plant to see how they pop and squish in your fingers.
Yes Olive, you can choose what you want to eat.  Yes Olive, you can dump it out all over on your tray 30 seconds later, mix it up, and still eat it.

Yes Olive, you can try it that way so you can figure out that the stairs are probably easier.

Yes Olive, you can feed Ming Ming the duck some string cheese.

Yes Olive, you can be silly and just be yourself - all the time.

Yes Olive, you can dig in that dirt. 
Yes Olive, you can eat that tomato.  Yes Olive, you can pick a green one to realize that it's not ready and way too sour.

Yes Olive, you can pet that goat and even give him a kiss if you want.

Yes Olive, you can climb that wall and I won't even stand right near you.

Yes Olive, you can decorate your body and diaper with paint.

Yes Olive, you can explore, create, get dirty and learn.

Friday, February 3, 2012

Animal Acres Farm Sanctuary

This past weekend, we visited the Animal Acres Farm Sanctuary about a half hour outside of Los Angeles.  My mom has been trying to get us to go for a few months now.  It takes us 1 1/2 hours to get there, so it's not exactly a last minute kind of thing.  We packed a picnic, loaded the bag full of diapers and snacks, and hit the road!

Animal Acres is a sanctuary for the rescue of farm animals that have been abused, neglected, or otherwise improperly treated.  Most of the animals were headed for slaughter when they were rescued and given refuse at the sanctuary.  Even with their severe mistreatment, most of the animals are sweet, personable, loving, and will willingly come up to your for a little pet.  The coolest part is that you actually get to walk through their areas, rather than just looking at them through a fence.  It is not a petting zoo by any means, but you certainly get to do a lot of petting!


Our first animal encounter: a huge, monstrous, terrifying chicken!  Or at least that's how Olive treated it.  She warmed up as we saw more animals.

These pigs were HUGE, I mean like 900 pounds huge.  As you can see, they like to have their bellies rubbed.


My stepdad is getting his shirt eaten by a baby cow.  Uh oh!  And what's with the guy in the background wearing the LEATHER jacket?  I mean, I'm not a vegetarian but if you're going to a place like this, maybe you think twice about the clothes you pick out to wear.  Right?


One of the only animals that we had to pet through a fence was a horse.  This one seemed a little timid, which is probably why we couldn't go in.


This picture does not do the size of this cow justice.  These cows were really large, much more than I expected!


Olive sharing a special moment with a very friendly goat.  She was trying to give it a kiss.


Olive had a little lamb whose fleece was white as snow....Well, off-white anyway.  This little lamb's fleece was so, so soft.  Again, notice this girl's arm on the right?  What is with wearing the leather jacket to an animal sanctuary that promotes veganism?!  Ay carumba!


Grandma and Olive observing a chicken.


We had a really nice day there.  We plan on going back in the future as their mix of animals is constantly changing.  If you have a place like this in your area, I highly recommend you go.  It is an eye opening experience.  I am not vegan or vegetarian, but going to a place like this definitely makes you think about where your food comes from.